Wednesday, February 1, 2012

Pineapple


This was more fun than I should have had.  For an integrated product design class, we had to prove our knowledge of SolidWorks by making a fruit.  So I made a pineapple.  You'll notice that there are two different columns of scales.  One column was generated with a curve-driven pattern, and the other column was sketched as offsets from the first columns edges.  These were extruded out to a revolved surface that was offset from the original smooth pineapple body.  The leaves were made from a single revolved extrusion, then circle pattern cut to separate the leaves.  The leaves features were not merged with the rest of the pineapple until after the circle pattern cut.  It was easier to color the bodies this way as well.

Tuesday, December 7, 2010

Mechatronics Robodeo!

For the first event of the Robodeo challenge, we needed to build a robot to track a randomly wandering robot "steer" and capture it.  Our robot was equipped with short range sonar sensors and long range IR sensors.  Our strategy was to chase the steer using these sensors and enclose it with our jagged arms while simultaneously lifting the steer with our front "forklift".


For the second event of the Robodeo challenge, we needed to race around barrels with embedded IR LEDs in them.  We used an array of IR transistors for our only sensors, and coded a state machine to drive around the barrels in a particular order and orientation.  The wheels were molded from Smooth-On Oomoo 25 silicon rubber using a 3D printed mold I designed.  The batman design on the wheels was made by my teammate, Michael Hurst.

Thursday, November 18, 2010

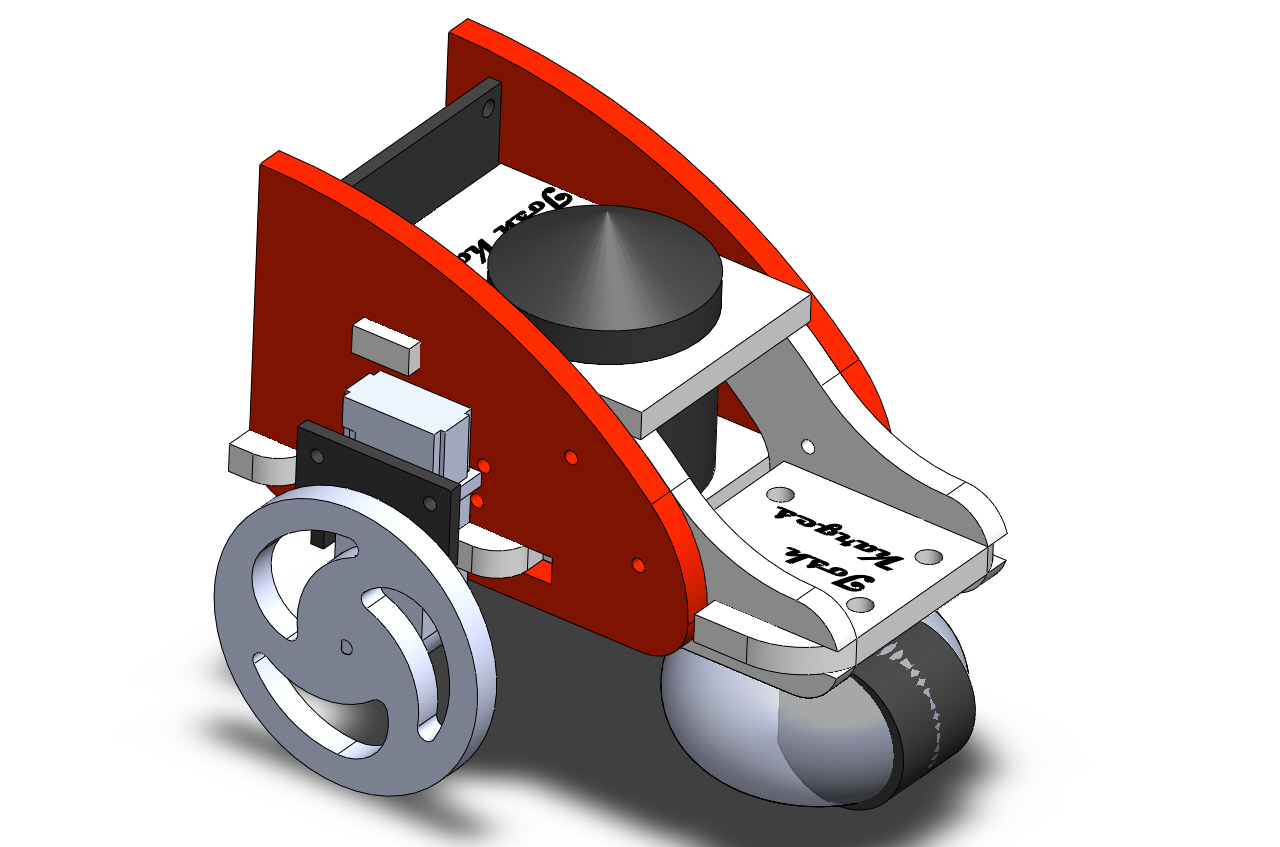
Mechatronics Mini-Segway

This is a robot designed for a Mechatronics class which balances on two wheels.  The design is completely built out of lasercut acrylic, and assembled with screws, press-fits, and slide-fits.  The entire project took 2 weeks.  You can see a short youtube video of the robot working below.

Thursday, October 14, 2010

Labyrinth RC Car

In my Mechatronics class we were assigned to build a simple remote controlled car which could carry a 500g payload (that's the black cylinder thingy in the middle), and drive through a labyrinth course.  I wanted to challenge myself to build it as modular as possible.  We were only allowed to use lasercut acrylic or MDF, so I implemented slide-fits for most of my connections between the layers of the car.  This way the front caster wheel (which has a transparent revolution around it to ensure that doesn't interfere with anything else), the side red walls, the circuit boars, and the base of the car are easily removable.  Below is a diagram of how  my slide-fits work.

Thursday, August 26, 2010

SMA 3-DOF Mini Manipulator

 
The SMA project culminated in a 3-DOF manipulator entirely fabricated with an Objet 3D printer, and actuated with our patterned sheets of SMA.  Everything, including the springs, can be printed in a single job, completely assembled.  Of course it's more advisable to separate a few of the parts to minimize on support material needed, and to attach the SMA more conveniently.

 
Here's the entire assembly built for testing in the real world.

Wednesday, June 2, 2010

Hex Roller


This is the complete model of the hex roller.  Each angle is an SMA flexible actuator which widens it's angle when activated.  When we turn on the actuators in a designated pattern, we can get the hex roller to roll from one side to the next.  All the circuit boards have their own battery and can be communicated with wirelessly.


A model of a single SMA flexible actuator.


The fully functional/locomotive hex roller.

Tuesday, June 1, 2010

SMA Activated Frictionless Joint

Three different designs for a frictionless joint driven by SMA linear actuators.  The top and bottom white parts are connected with 3 strips of rubber that curve around opposite sides so the white parts can roll back and forth on each other with virtually no friction.  When the actuator extends, it will pull the cable which is connected to the other end of the joint and will flex the joint in one way or another.


Here's two pictures of the finished product.  3D printing was done on an Objet Connex 500.